Edit user accounts
Once a user account has been created, you may edit the general information, the contact information and add or manage user accounts and their permissions. If you make any modifications to any of the sections, the mandatory fields must be completed. All mandatory fields are marked with an asterisk "*". You may also disable and enable user accounts from the Edit Users page.
|
If an Organizations user cannot remember their password, you may reset the account from within Navigator User Management. See the Navigator User Management help. Instructions for resetting a user account can be found in the Navigator User Management View User Account topic. |
Edit user account personal information
You may edit any of the user's personal information, but you must provide information for all the mandatory fields. ![]()
![]()
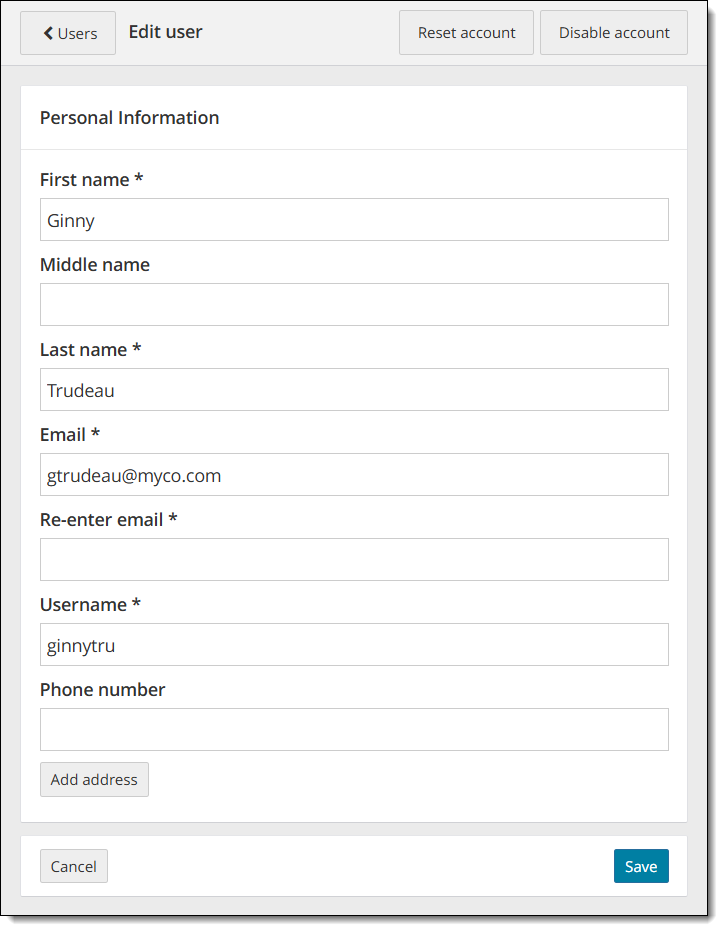
- Modify the user's First name., optional Middle name, or Last name.
|
The First, Middle, and Last name fields must adhere to the following characteristics:
If the first name, middle name, or last name violates any of these rules, an error message is displayed as soon as you navigate away from the name field.
|

- Modify the user's Last name.
- Modify the user's Email address.
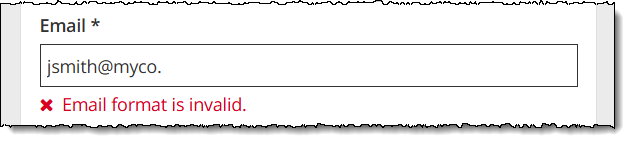
The email address must be a valid email format. When you start typing in the Email field the error message appears. Once you have typed in a valid email format the message disappears. The system does not verify that you have typed a valid email address, it just verifies that the format is valid. ![]()
![]()
|
The Email address must adhere to the following characteristics:
|
|
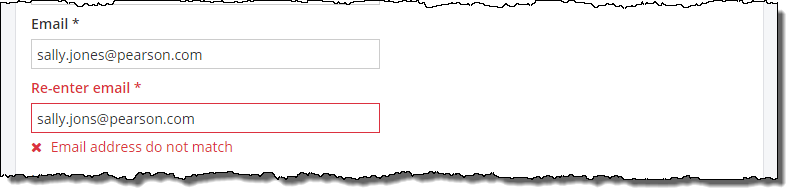
If you choose to edit the email address, you must re-enter the email address. The re-enter email address field is only mandatory if you are modifying the email address. If your email addresses do not match, a message states they do not match.
|
- Modify the user's Username.
The system does not check if it is a unique username until you save the user profile.
|
The Username must adhere to the following characteristics:
As a best practice, you should come up with a naming practice that will ensure your usernames will not be a naming structure other clients may use. For instance, you could use email address as the Username since everyone will have a unique email address. Another possibility is first 4 letters of the user's last name + first 2 letters of the user's first name + company name (e.g., Dan Johnson at My Company would be johndamyco). |


- Modify the user's Phone number.
|
The phone number must be a valid phone number format.
If you enter any of the special characters, an invalid phone number error appears.
|

- Select Cancel if you do not wish to save your changes. You are returned to the View User Details page.
- Select Save to retain the changes you made to the user account. You are returned to the View User Details page and a message states the user has been updated.


Edit user account address
You must edit the user personal information to add, modify, or delete the user address. Address fields are optional for user accounts; but if you choose to add any address fields to the user account, you must add all the required address fields.
Add Address
- Select Add address
 .
.
|
When you create or modify a user account, you are not required to provide the address information. If you choose to provide an address for the user, you must supply all the mandatory address fields before saving the user account. |
- Enter the following required address fields:
- Select Country from drop-down list.
- Enter user Address 1.
- Enter City.
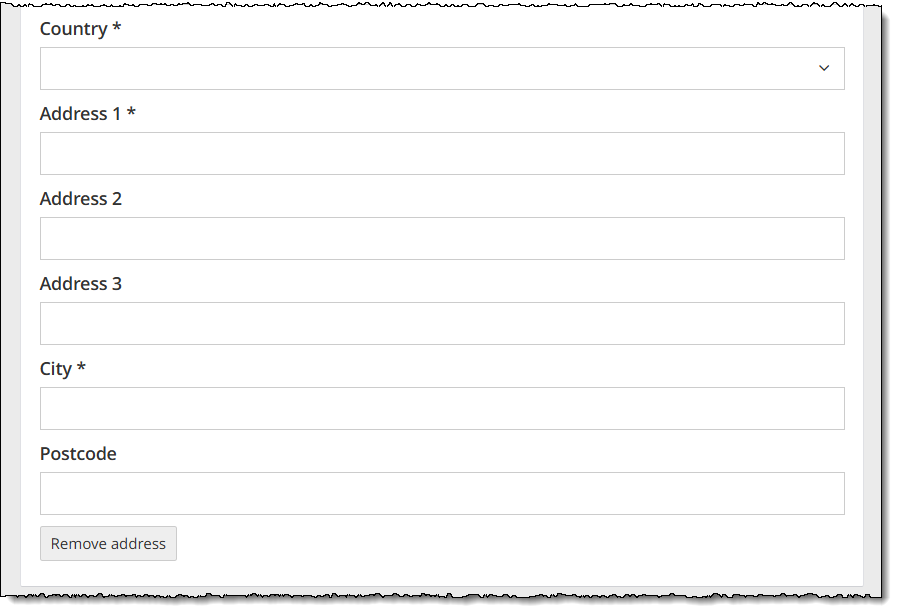
|
The mandatory fields will change depending upon the Country selected when entering address information to a user account. If you do not know all the required address fields when you edit the user account, you are unable to save the user account to the system. You can select Remove address and add the address information later. When you select Remove address, all the address fields are cleared, and you are returned to the basic Add user page. |
- Enter any remaining optional address fields.
- Select Cancel if you do not wish to save your changes. You are returned to the View User Details page.
- Select Save to retain the changes you made to the user account. You are returned to the View User Details page and a message states the user has been updated.
Remove Address
- Select Remove address
 .
. - Select Cancel if you do not wish to save your changes. You are returned to the View User Details page.
- Select Save to retain the changes you made to the user account. You are returned to the View User Details page and a message states the user has been updated.
Edit user account organization associations
You may add and remove Organization associations for user accounts at any time.
|
|
Add organization association
To add the user to additional organizations, place your cursor below the organization list. Select an organization from the Organizations list. ![]()
![]()
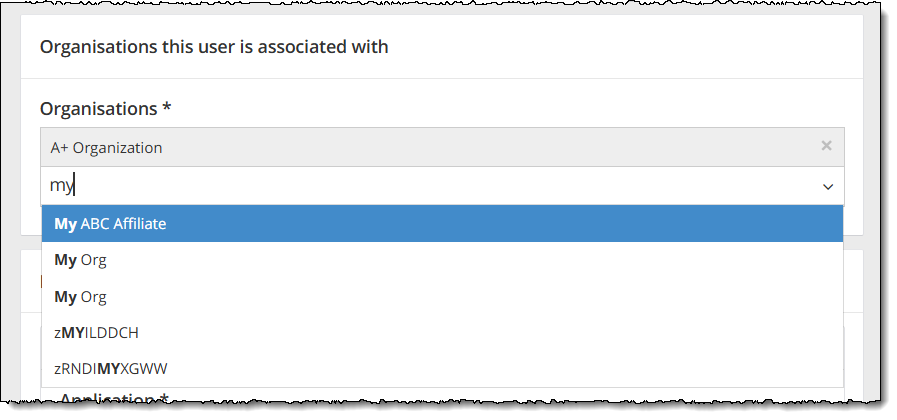
If you start typing, the list dynamically filters to locate those organizations that include the characters you typed. If a drop-down list does not appear, you do not have any organizations that matches what you typed. You must select an organization that has previously been added to the system.
The Organization is added to the list. You are specifying this user may perform tasks for the client via the selected organization.
Remove organization association
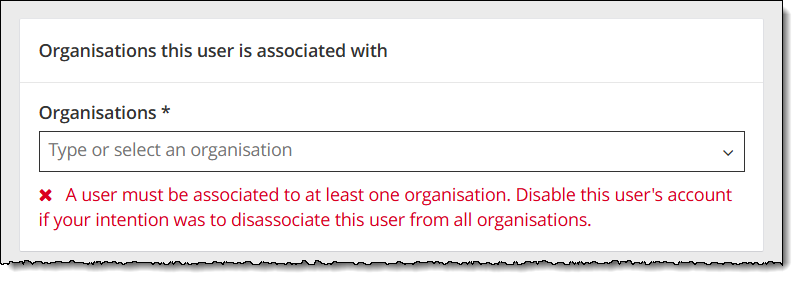
If you want to remove one organization association, use the remove organization functionality. If you want to disassociate this user from all organizations, you should disable the user instead. See Disable a user account.
- To remove an organization from the user account, select the X button for the Organization.
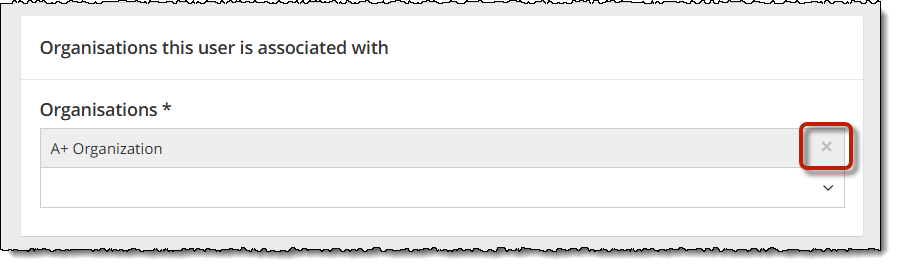
If you remove all the organizations for the user, a message appears below the Organizations field stating a user must be associated with at least one organization. ![]()
![]()
Edit user account roles
You may edit any of the user's account roles. You can change an existing role, add a second role, or remove a role.
Change an existing role
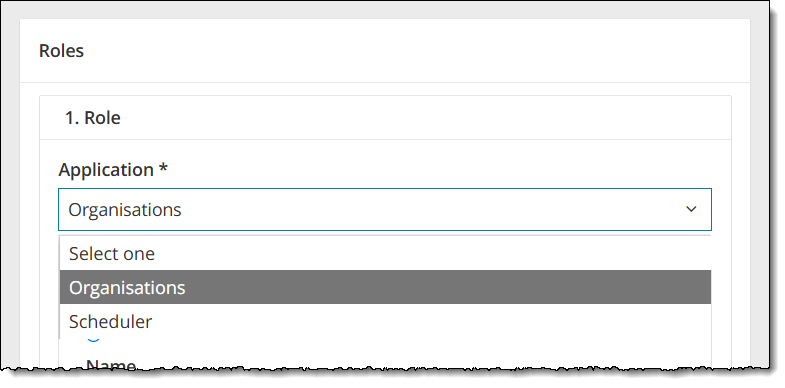
- If you only have one application assigned to the user, you may select a different application. Select the desired application from the Application drop-down list.
- Select the desired role option button from the list of application roles.
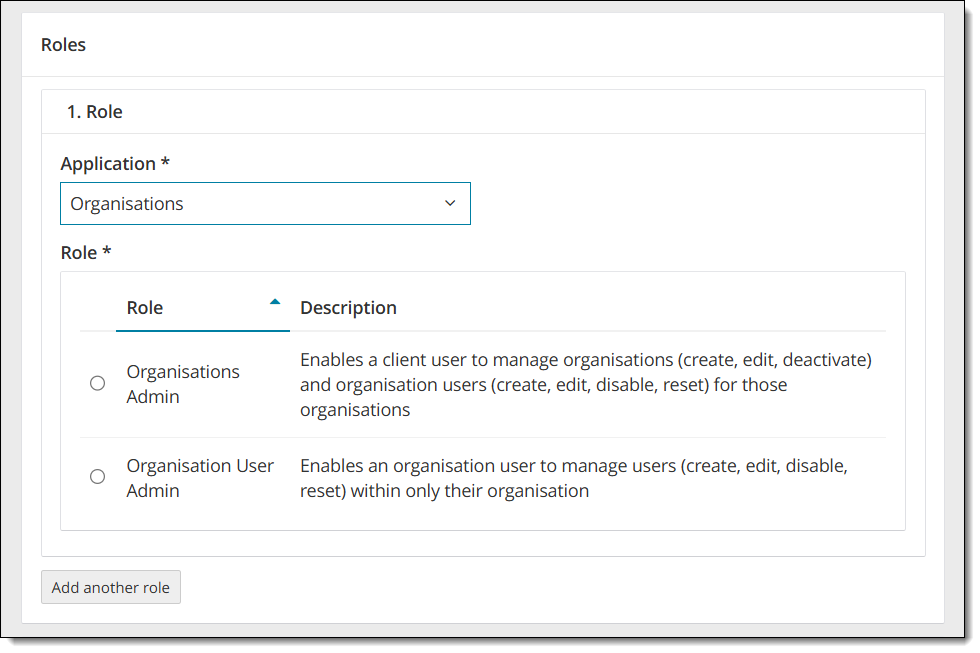
Add another role
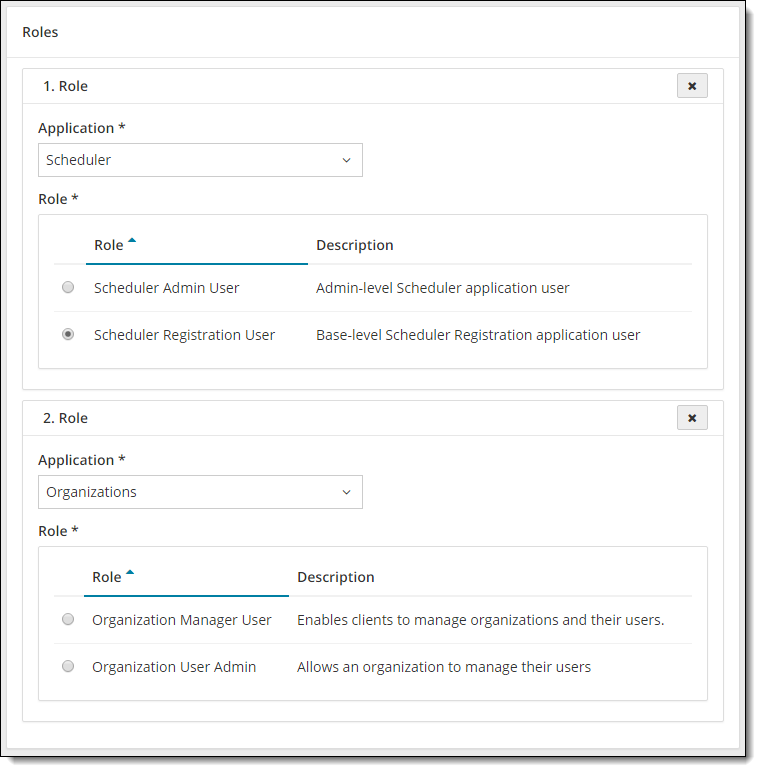
- Select the Add another role button.
- A second Role section is displayed. Select the desired role option button for the second role.

Remove a role
- Select the Delete role button
 in one of the Role sections.
You are not allowed to delete all roles. Once you are down to a single role, the Delete role button disappears from the Role section.
Save role changes
- Select the Save button.
A confirmation message appears at the top of the page confirming the user has been updated.
Return to the User Management list
Once you are finished viewing the user details, you may return to the User Management list.
- Select the Users
 button in the upper left-hand corner, or
 - Select the Done
 button on the bottom of the page.
Pearson VUE Proprietary and Confidential